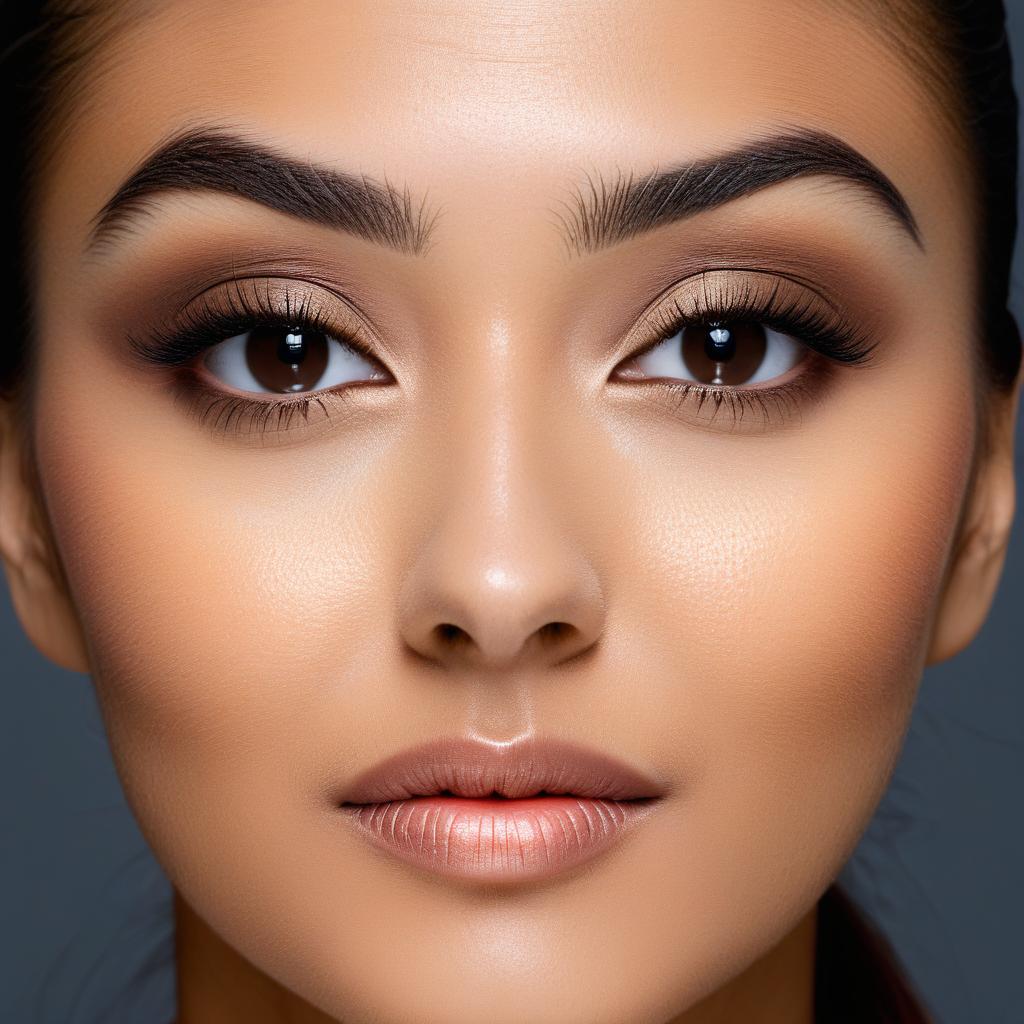
Getting full coverage with concealer can be a game-changer in your makeup routine. It’s not just about hiding imperfections; it’s about achieving a flawless, natural look that lasts all day. Whether dealing with dark circles, blemishes, or redness, this guide will walk you through every step to ensure your concealer game is on point.
Here’s a detailed Step-by Step guide to get full coverage with concealer
“Preparation: The First Step in Our Concealer Guide”
Cleansing and Moisturizing
The first step to a flawless makeup look is a clean and moisturized face. Use a gentle cleanser to remove any impurities dirt, oil, or makeup residue and follow up with a moisturizer that suits your skin type. This creates a smooth base and prevents the concealer from clinging to dry patches or looking flaky.
Importance of Hydration
“Hydrated skin is happy skin“. Dehydration can make your skin look dull and accentuate fine lines. Drink plenty of water and use hydrating products to keep your skin plump and smooth.
Applying Eye Cream
The under-eye area is particularly prone to dryness. Applying an eye cream can help to keep this area hydrated, making the concealer application smoother and reducing the likelihood of creasing.
Color Correcting (Optional)
Why Use Color Correctors
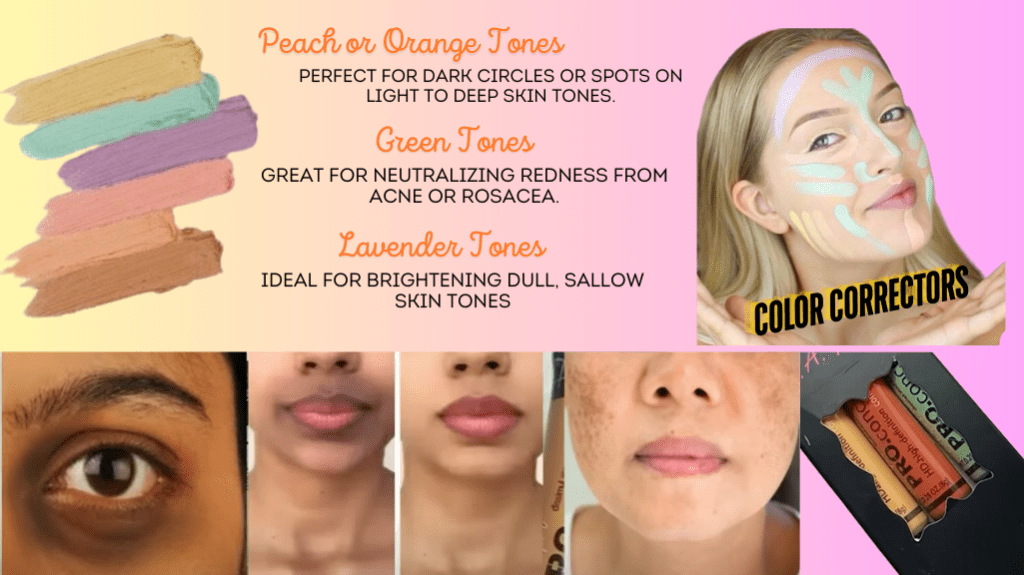
Before applying concealer, you might need to neutralize any discoloration. Color correctors can be a lifesaver when dealing with stubborn discoloration. They help neutralize unwanted tones, making it easier to achieve an even skin tone with less product.
Choosing the Right Color Corrector
- Peach or Orange Tones: Perfect for dark circles or spots on light to deep skin tones.
- Green: Great for neutralizing redness from acne or rosacea.
- Lavender: Ideal for brightening dull, sallow skin tones.
Techniques for Applying Color Correctors
Apply a small amount of the corrector to the targeted area using a brush or your fingers. Blend it out gently before applying your concealer.
Recommended Color Correctors for Full Coverage
Some top picks include:
- Givenchy Prisme Libre Corrector.
- NYX Professional Makeup 3C Palette.
- Dr.Jart+ Cicapair Tiger Grass Color Correcting Treatment.
- Stila One Step Correct.
- Bobby Brown Creamy Corrector.
Choosing the Right Concealer:
Understanding Different Concealer Textures
Concealers come in various forms—liquid, cream, stick, and pot. For full coverage, creamy concealers and high-pigment liquid concealers are your best bet. They provide substantial coverage without feeling heavy.
Selecting the Right Shade:
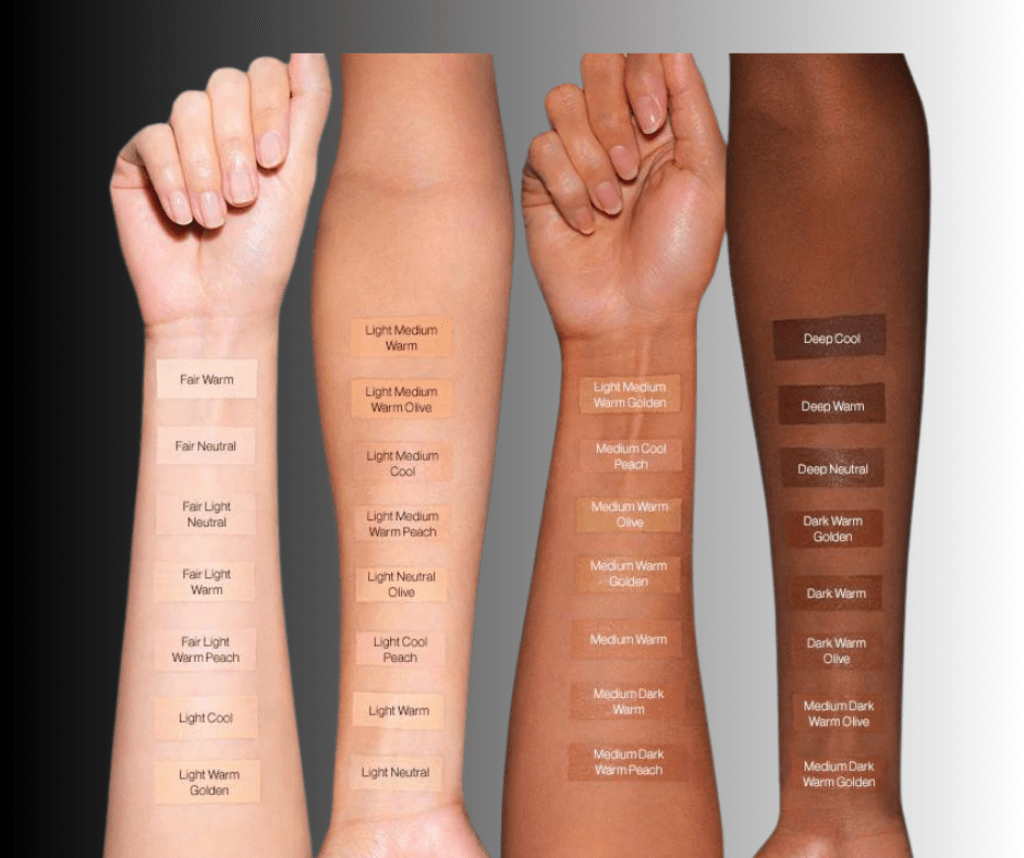
The right shade is crucial. For covering blemishes and imperfections, choose a shade that matches your skin tone. For the under-eye area, go one shade lighter to brighten and lift the eyes.
Recommended Concealers for Full Coverage
Some top picks include:
- Tarte Shape Tape Concealer: Known for its high coverage and blend ability.
- NARS Radiant Creamy Concealer: Offers a luminous finish while covering imperfections.
- MAC Studio Finish Concealer: A classic choice with a thick, creamy texture for ultimate coverage.
Application & Tools
Brushes:
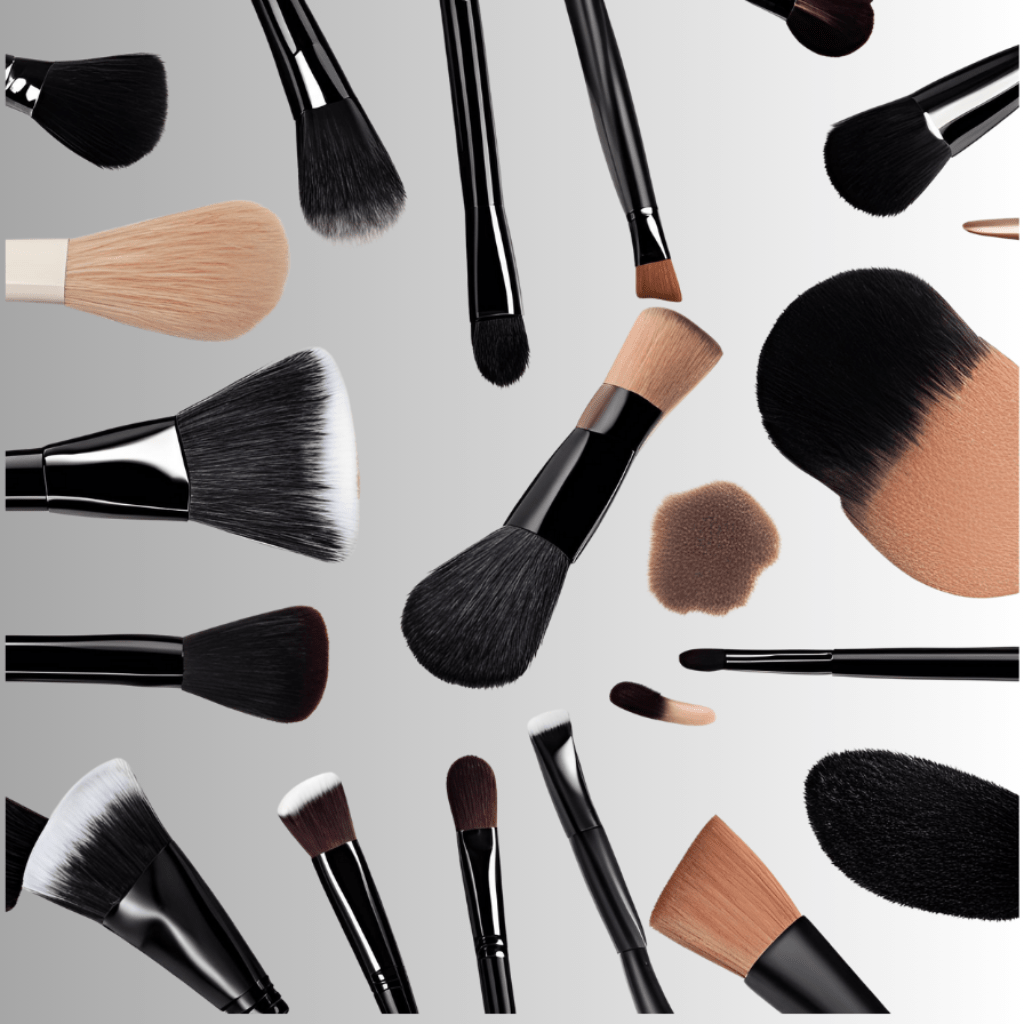
Makeup brushes offer precision and control, making them ideal for detailed application. Use them for targeted spots and under-eye areas.
Makeup Sponges:
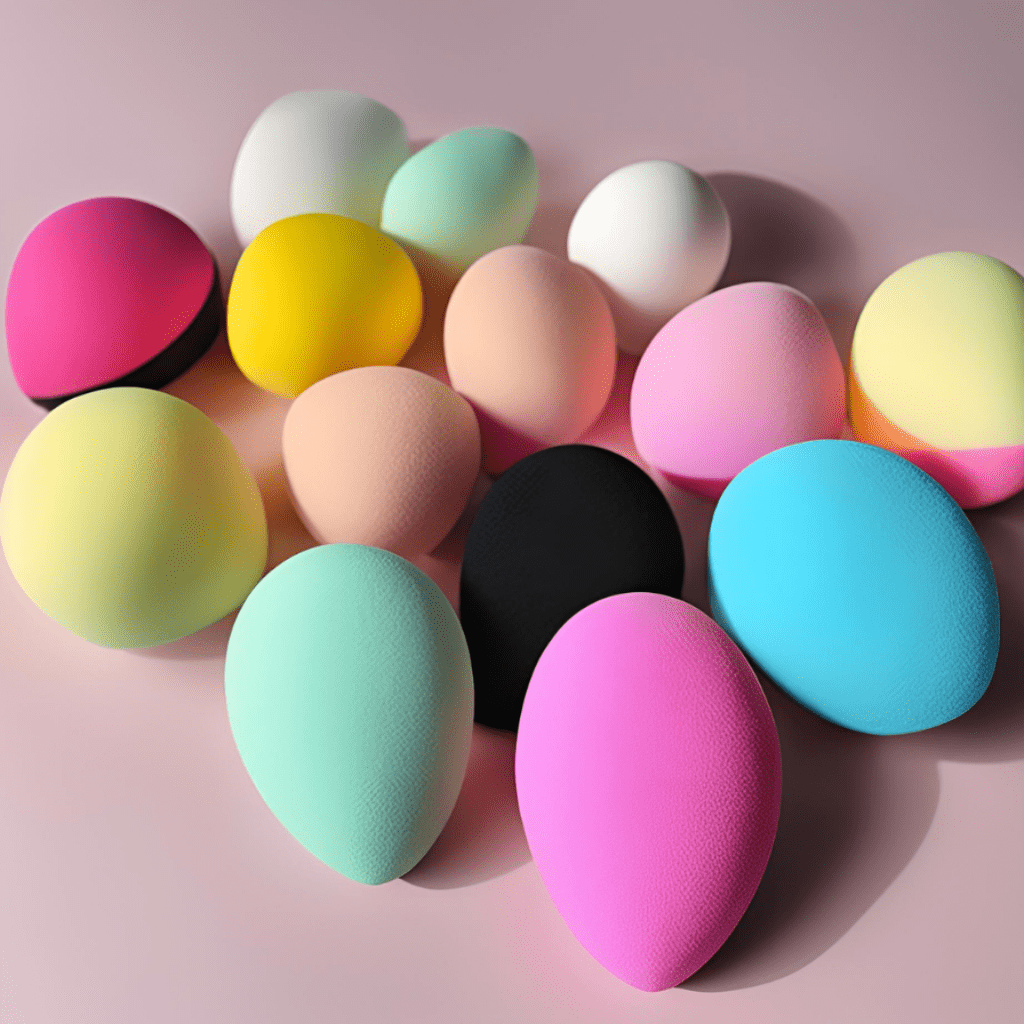
A damp makeup sponge gives a seamless, airbrushed finish. It’s perfect for blending out concealer without moving the product around too much.
Using Your Fingertips
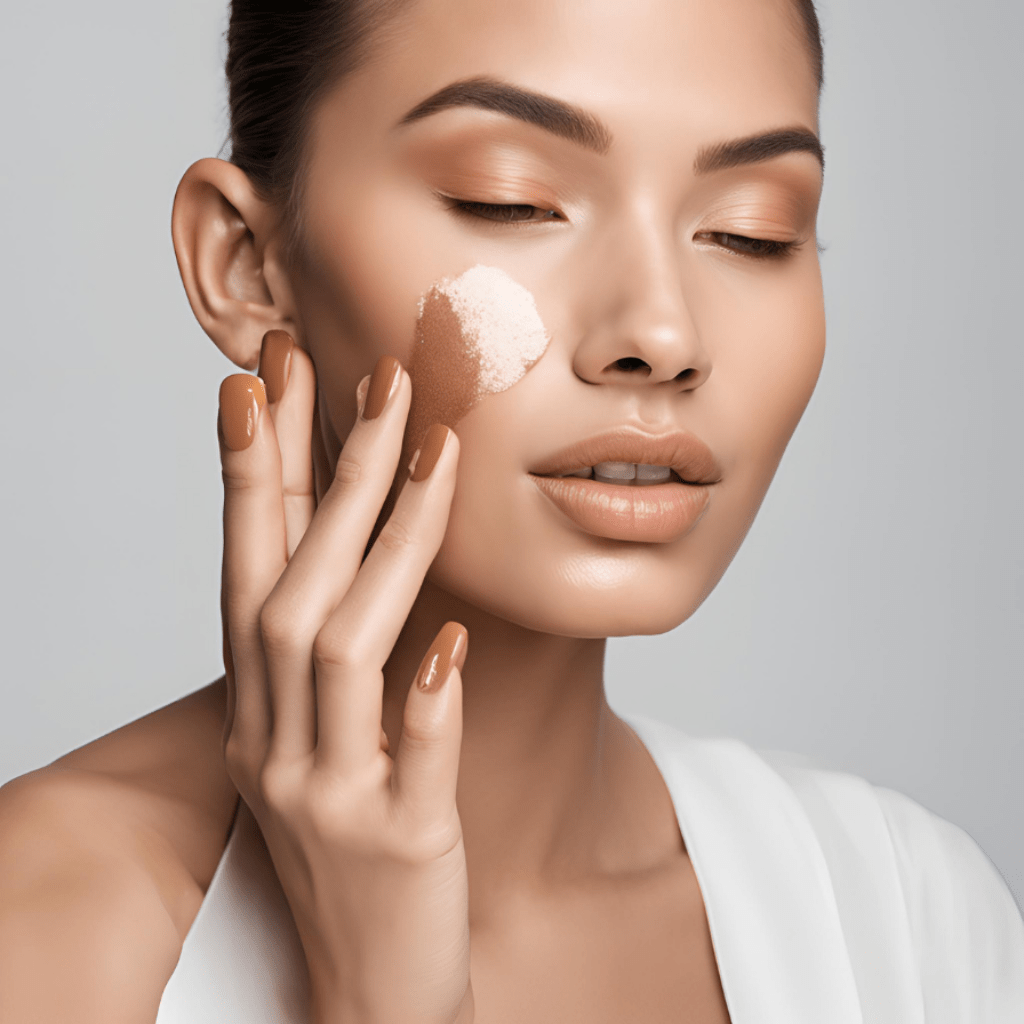
Your fingers can warm up the product, helping it to blend more easily. Tap the concealer gently into the skin for a natural finish.
Application Techniques
Applying Concealer in Thin Layers
Less is more when it comes to concealer. Start with a small quantity and lightly faucet it over the place you desire to cover. This prevents caking and ensures a more natural look.
video
Tapping vs. Swiping Techniques
Tap the concealer into the skin using a brush, sponge, or your fingers. Swiping can move the product around and reduce coverage.
Layering for Extra Coverage
For areas needing extra coverage, apply the concealer in thin layers, allowing each layer to set before applying the next. This method ensures longevity and avoids a cakey finish.
video
Setting the concealer:
Using Translucent Powder
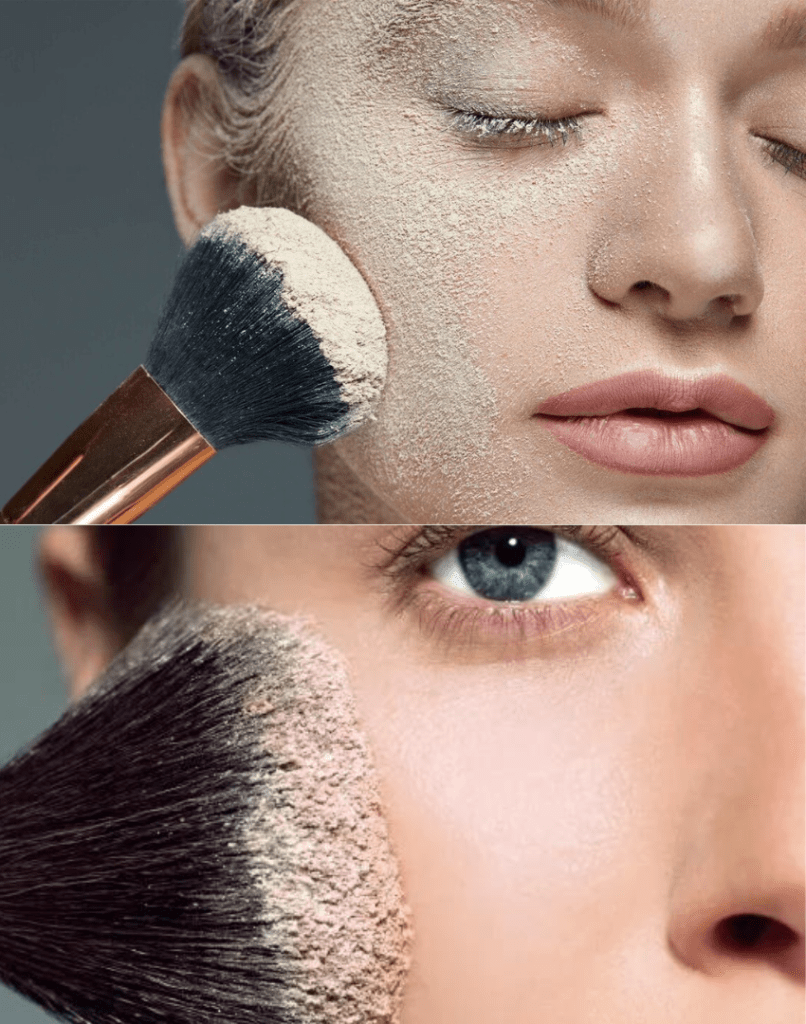
Set your concealer with a light dusting of translucent powder to lock it in place. This prevents creasing and extends the wear time.
Baking Technique for Under Eyes
Baking involves applying a generous amount of translucent powder over your concealer and letting it sit for a few minutes before brushing off the excess. This technique is great for ensuring long-lasting coverage and a brightened under-eye area.
Tools for Setting Concealer
Use a fluffy brush for a light application or a damp sponge for baking under the eyes, which involves applying a generous amount of powder and letting it sit for a few minutes before brushing off the excess.
Sequence of Application: Foundation First
Always apply your foundation first, then follow with concealer. This allows you to see exactly where you need extra coverage and prevents the concealer from being rubbed away.
Blending Edges Seamlessly
Blend the edges where the concealer meets the foundation to avoid any harsh lines. Use a sponge or a brush for this step to ensure a smooth transition.
Tips for a Natural Finish
Blend, blend, blend! Use light, tapping motions to meld the concealer into the foundation for a seamless look.
Special Techniques for Different Areas
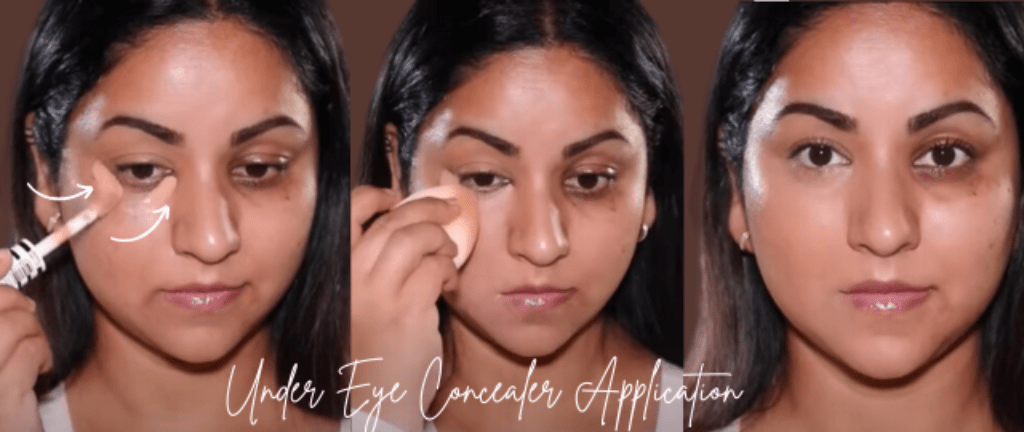
Under Eye Concealer Application
Apply concealer in a triangle shape under the eyes, extending down towards the cheeks. This brightens the face and covers dark circles effectively.
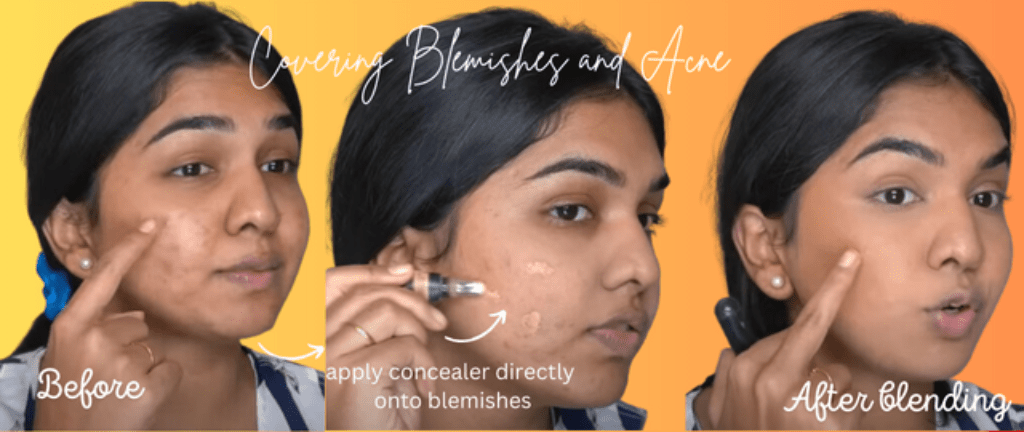
Covering Blemishes and Acne
Use a small brush to apply concealer directly onto blemishes. Tap gently to blend and set with powder to ensure the coverage stays put.
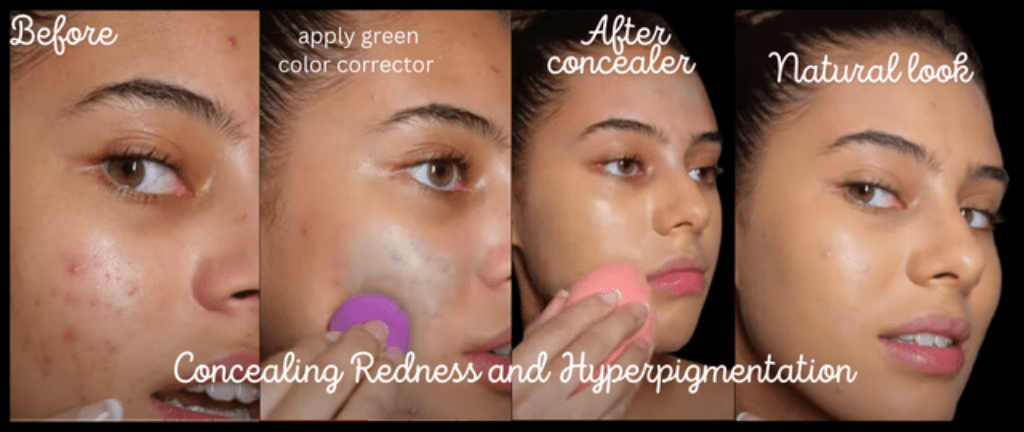
Concealing Redness and Hyperpigmentation
Neutralize redness with a green corrector first, then follow with a full-coverage concealer. Apply in thin layers and blend well for a natural look.
“Finishing Touches: Final Step in the Concealer Guide”
Checking Makeup in Different Lighting
Natural light is the best judge of your makeup application. Check your makeup in different lighting conditions to ensure there are no harsh lines or unblended areas.
Using Setting Sprays
A setting spray not only locks in your makeup but also helps to blend everything together for a more skin-like finish. It’s the final touch for a long-lasting look.
Final Blending and Touch-Ups
Before you step out, do a final check and blend any harsh lines. Carry a small concealer stick and powder for quick touch-ups throughout the day.
Common Mistakes to Avoid
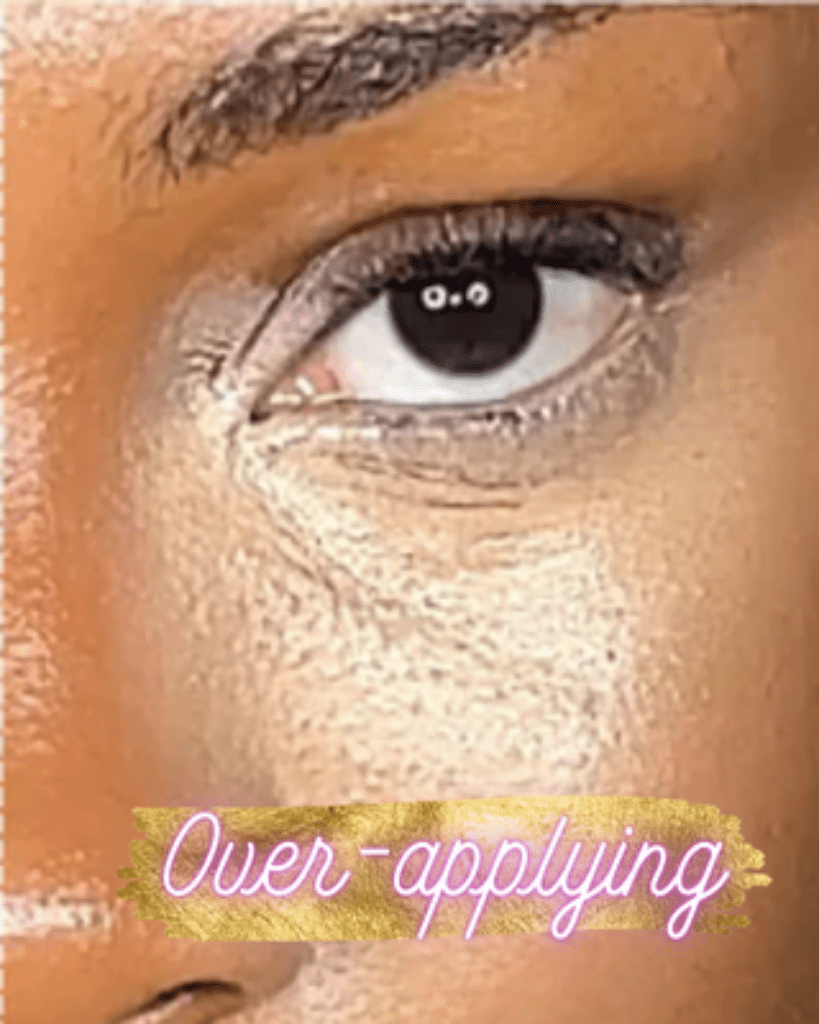
Over-applying Product
Using too much product can lead to a heavy, cakey look. Apply in thin layers and build up coverage as needed.
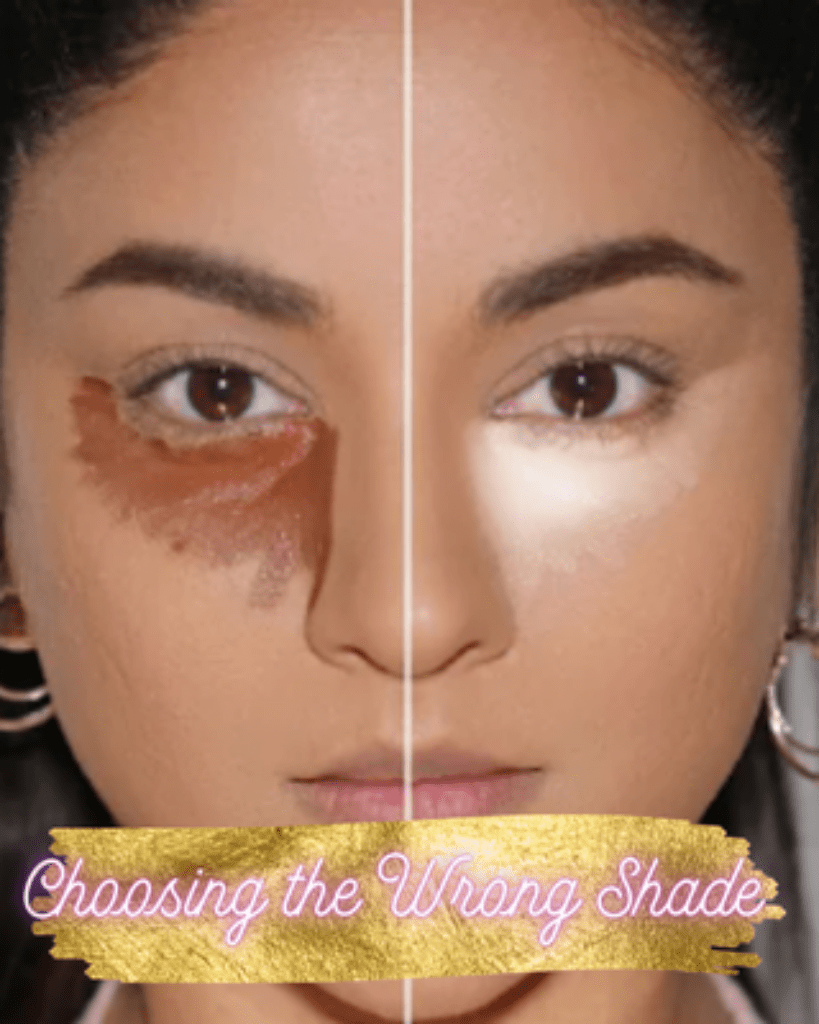
Choosing the Wrong Shade
Ensure your concealer matches your skin tone for blemishes and is one shade lighter for under-eye areas to avoid looking unnatural.
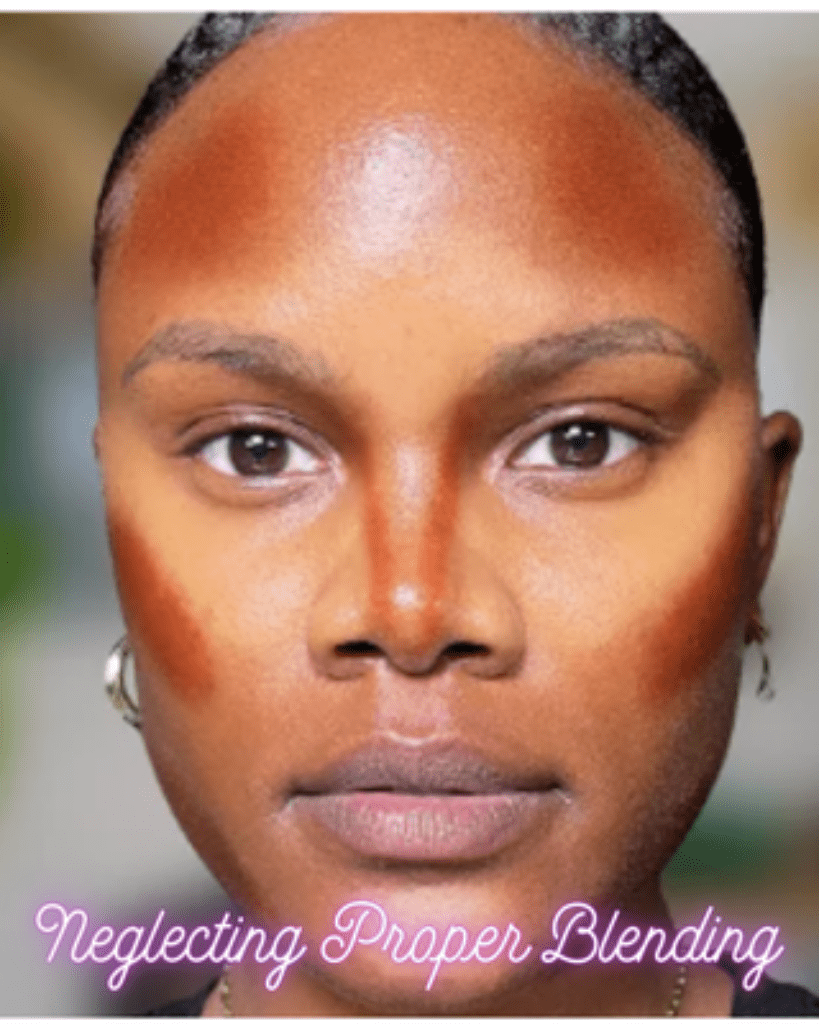
Neglecting Proper Blending
Take the time to blend your concealer thoroughly. This step is crucial for achieving a natural, flawless finish.
Pro Tips for Long-Lasting Coverage in Our Concealer Guide”
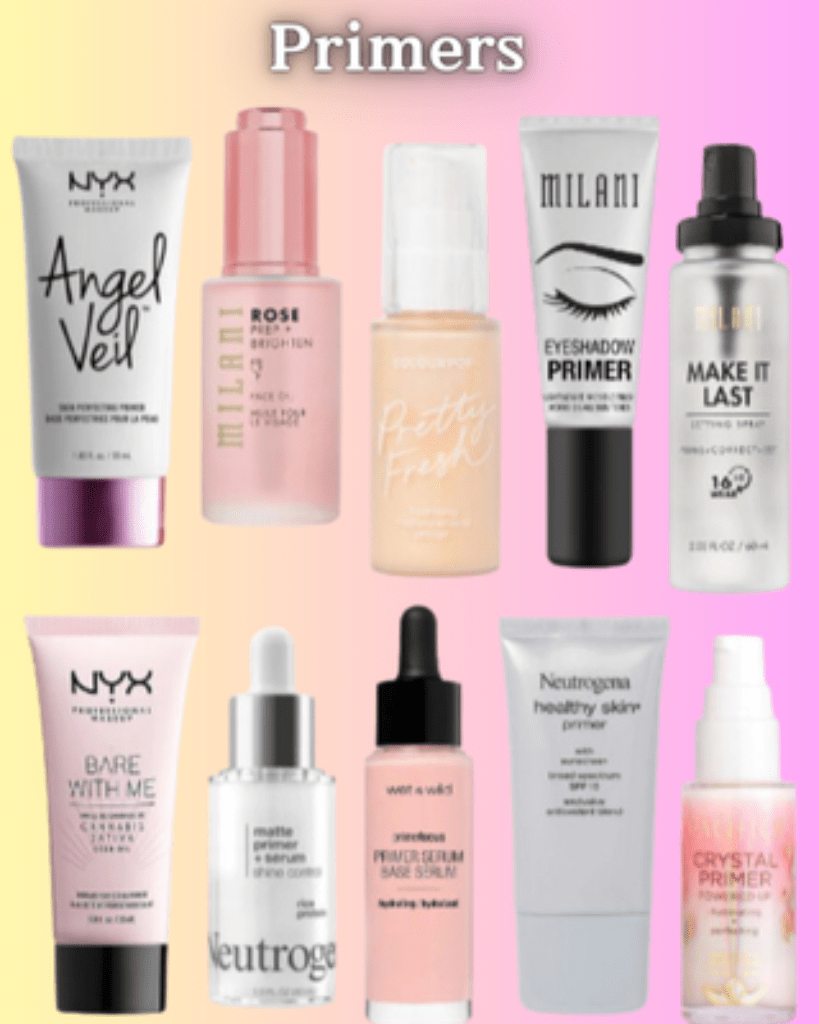
Hydration and Primer
Keep your skin hydrated and use a primer to create a smooth base for your concealer. This helps the product adhere better and last longer.
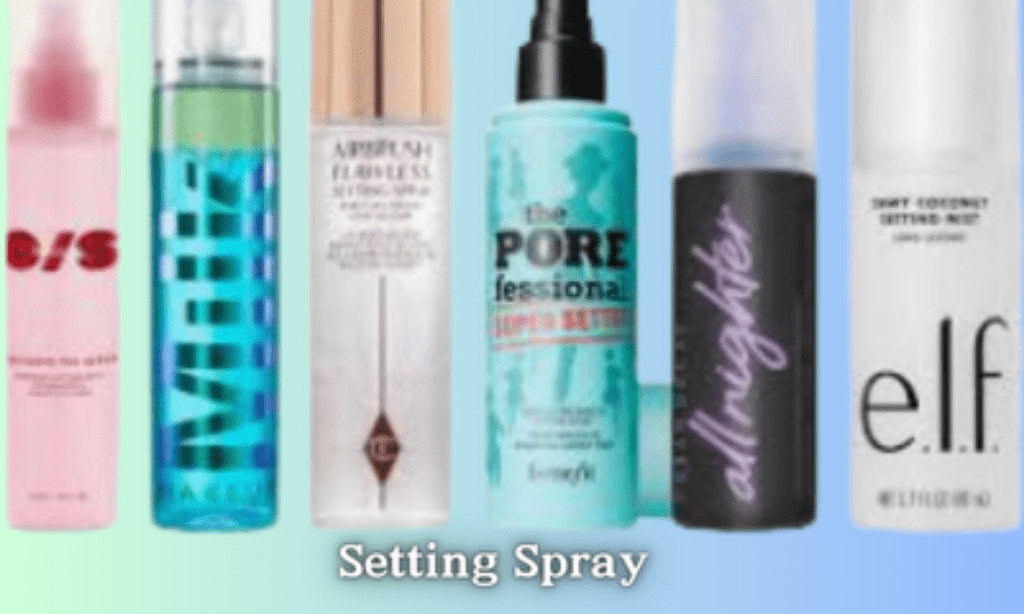
Using a Setting Spray
A setting spray locks in your makeup, keeping it in place all day. It also helps to blend all the layers together for a cohesive look.
Touch-Up Tips for All-Day Wear
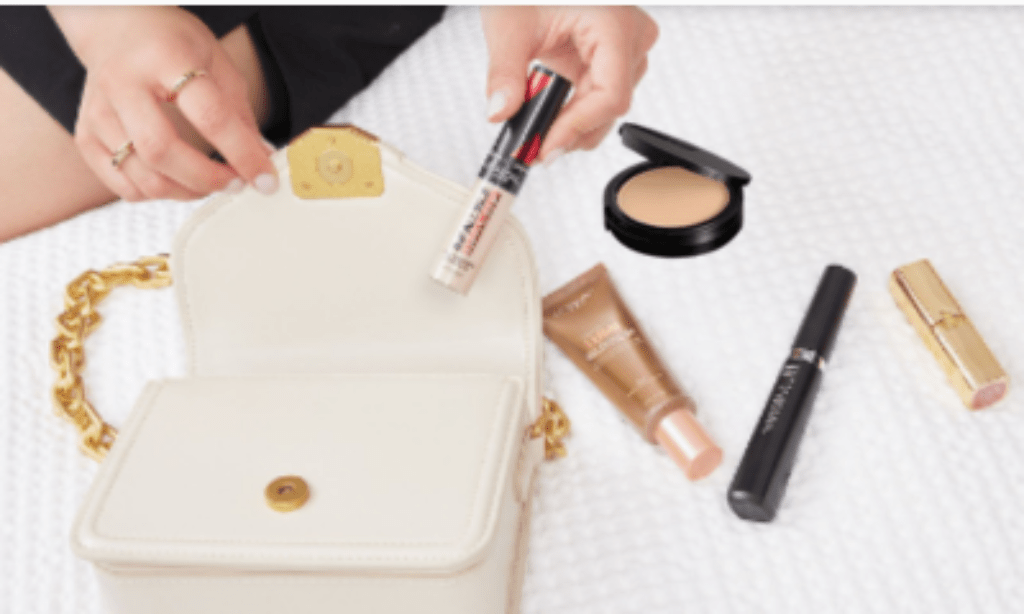
Carry a small concealer and powder for quick touch-ups. A little blotting paper can also help to control shine without disturbing your makeup.
Conclusion
Mastering the art of full coverage with concealer is not just about hiding imperfections, but about doing so in a way that looks natural and feels comfortable on the skin. With the right products, tools, and techniques, you can achieve a flawless finish that lasts all day. Practice and adjust based on your unique skin type and concerns to perfect your concealer application for any occasion.

